Part of my day job involves managing a system that runs on a MSSQL database. Because of that, I like to spend some time improving my knowledge of MSSQL and having a local installation is a great tool to play with. I recently installed Arch Linux on a Dell OptiPlex 3040 that I had lying around and decided to use it as a dev machine. This article covers how I installed Microsoft SQL Server on Arch Linux. I do this using AUR repositories.
Creating and Installing the Packages
First up, I create a location for my AUR repositories. Then I clone the GIT repositories that I need to get things up and running:
mkdir ~/aur
cd ~/aur
git clone https://aur.archlinux.org/mssql-server.git
git clone https://aur.archlinux.org/msodbcsql.git
git clone https://aur.archlinux.org/mssql-tools.git
mssql-server – this is for the main MS SQL Server installation
msodbcsql – this is for connecting to MS SQL Server
mssql-tools – these are the command line tools for interacting with MS SQL Server
Once the GIT repos have been cloned, it’s time to build the packages for installation using makepgk.
cd ~/aur/mssql-server
makepkg -sirc
cd ~/aur/msodbcsql
makepkg -sirc
cd ~/aur/mssql-tools
mkpkg -sirc
When running makepkg I use the following options:
-s – installs any missing dependencies using the package manager
-i – installs the package after it has been built
-r – removes any dependencies required by the build process that aren’t required afterwards
-c – cleans up any leftover work files or directories created during the build process
Now all three of the packages should be installed. The mssql-server service should also now be running and enabled to start automatically. You can check by running:
systemctl status mssql-server.service
The output should hopefully look something like this:
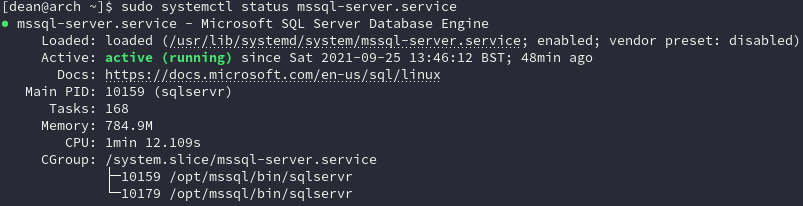
If it’s showing as “inactive (dead)” you can easily start the service and enable it to run automatically:
systemctl enable --now mssql-server.service
You can then confirm that it’s running by using the command shown previously.
Initial Setup of SQL Server
At this point it’s time to run the setup utility for SQL Server. You can view the options for this tool by running:
/opt/mssql/bin/mssql-conf --help
There are a few useful options in here, like resetting the sa (database admin) password. However in this instance I just want to run the initial setup utility:
/opt/mssql/bin/mssql-conf setup
This tool will walk you through setting the admin password, choosing which edition of SQL Server to run, setting the language and accepting the licencing terms.
After running that setup utility you’re done! You should now have a working installation of Microsoft SQL Server running on Arch Linux. Easy-peasy!
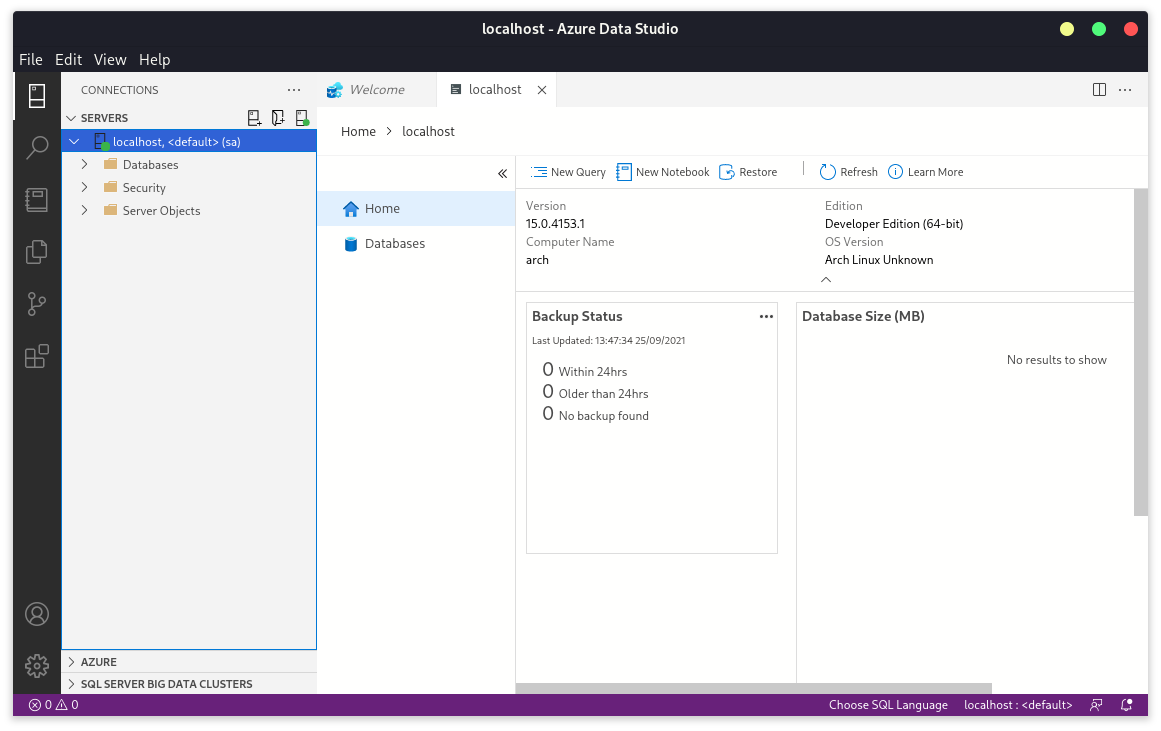
Installing Azure Data Studio
Unfortunately Microsoft haven’t released a Linux version of SQL Server Management Studio. However, there is an alternative, albeit one that isn’t as feature packed as SSMS. That alternative is Azure Data Studio.
Azure Data Studio a MSSQL management tool that is built on top of the Microsoft Visual Studio Code editor. It’s perfectly fine for interacting with SQL Server but it does lack all the “wizards” that you can access from the menus in SSMS.
If you want to install Azure Data Studio there is an AUR repo for that too!
cd ~/aur
git clone https://aur.archlinux.org/azuredatastudio-bin.git
cd ~/aur/azuredatastudio-bin
makepkg -sirc
Once installed you should be able to launch Azure Data Studio, connect to your local SQL instance and start playing!