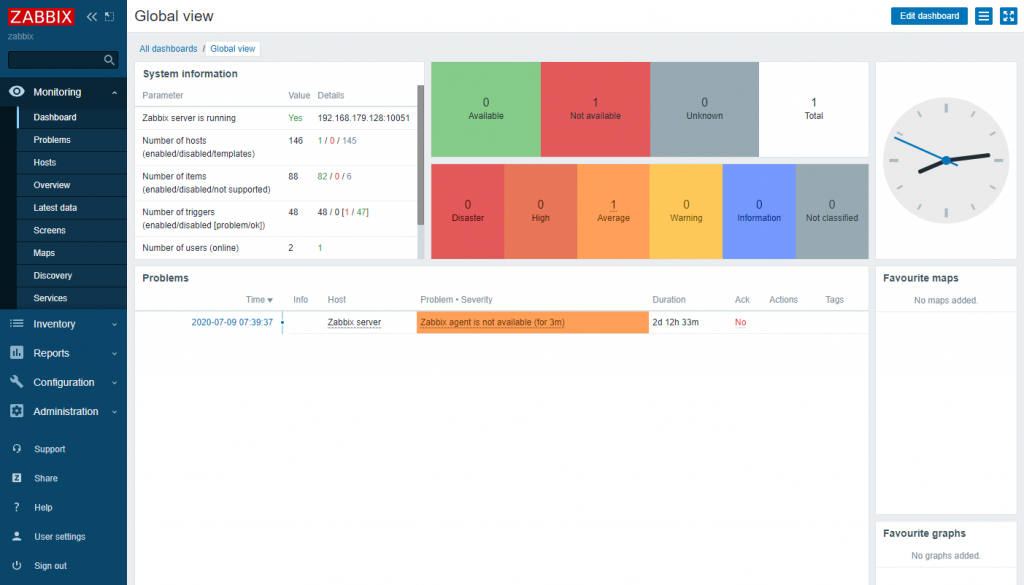
I recently had a bit of an ordeal trying to upgrade Zabbix to version 5.0 on a CentOS 7 server. This led to me installing Zabbix using containers. The problem was that Zabbix 5.0 requires a newer version of PHP than CentOS 7 ships with. Somehow I managed to miss that note before I started working through the upgrade.
It got me thinking “wouldn’t this be so much easier if Zabbix just came bundled with all it’s dependencies?” Then it struck me; that’s what containers do! After a quick search on Dockerhub I could see that Zabbix containers were available. I’d been wanting to upgrade that server to CentOS 8, so seemed like a good excuse for a re-install.
Full disclaimer – I’d never worked with containers before this. My setup probably isn’t ideal for production use, but it worked as a learning exercise.
Getting started with Podman (or Docker) to manage the Zabbix containers
First up, have Podman (or Docker, the commands should be the same) download copies of the container images from Docker Hub:
podman pull docker.io/library/mariadb:latest
podman pull docker.io/zabbix/zabbix-server-mysql:centos-5.0-latest
podman pull docker.io/zabbix/zabbix-web-apache-mysql:centos-5.0-latest
Create a Dockerfile for each container. These will be used to create a customised container image. You’ll obviously want to set the passwords to something more sensible than the ones in my example. You’ll also need to change the IP addresses to fit your environment. You can get more info on what each parameter does on the Dockerhub pages.
# ~/dockerfiles/mariadb/Dockerfile

FROM docker.io/library/mariadb:latest
ENV MYSQL_ROOT_PASSWORD=password

# ~/dockerfiles/zabbix-server/Dockerfile

FROM docker.io/zabbix/zabbix-server-mysql:centos-5.0-latest
ENV DB_SERVER_HOST=192.168.179.128
ENV DB_SERVER_PORT=33306
ENV MYSQL_ROOT_PASSWORD=root
ENV MYSQL_USER=zabbix
ENV MYSQL_PASSWORD=password
ENV MYSQL_DATABASE=zabbix

# ~/dockerfiles/zabbix-web/Dockerfile

FROM docker.io/zabbix/zabbix-web-apache-mysql:centos-5.0-latest
ENV ZBX_SERVER_HOST=192.168.179.128
ENV ZBX_SERVER_PORT=10051
ENV DB_SERVER_HOST=192.168.179.128
ENV DB_SERVER_PORT=33306
ENV MYSQL_USER=zabbix
ENV MYSQL_PASSWORD=password
ENV MYSQL_DATABASE=zabbix
ENV PHP_TZ="Europe/London"
ENV ZBX_SERVER_NAME=zabbix
Create the custom container images using the Dockerfiles:
podman build –t mariadb ~/dockerfiles/mariadb/
podman build –t zabbix-server ~/dockerfiles/zabbix-server
podman build –t zabbix-web ~/dockerfiles/zabbix-web
Run the containers, mapping the host ports to the container ports. Because I’m running in rootless mode, I can’t use port 80 or 3306 on the host. Instead I’m using ports 8080 and 33306. If you were running as root I don’t believe the default port mappings would be an issue.
podman run –d –p 33306:3306 localhost/mariadb
podman run –d –p 10051:10051 localhost/zabbix-server
podman run –d –p 8080:8080 localhost/zabbix-web
All I had left to do at this point was add some firewall rules to allow outside access to Zabbix:
firewall-cmd --zone=public --add-port=8080/tcp --permanent
firewall-cmd --zone=public --add-port=10051/tcp --permanent
firewall-cmd --reload
And just like that, I had successfully finished installing Zabbix using containers!

